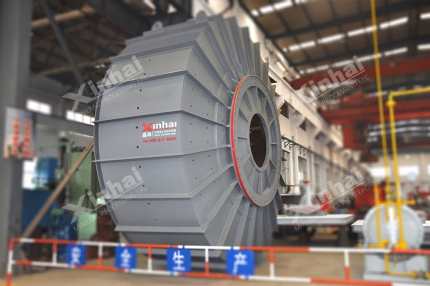
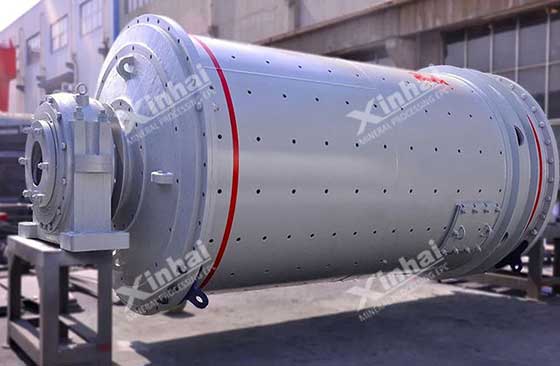
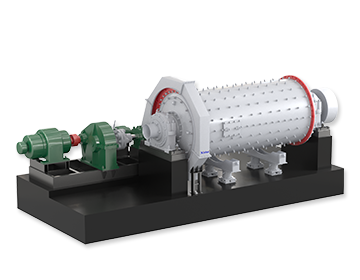
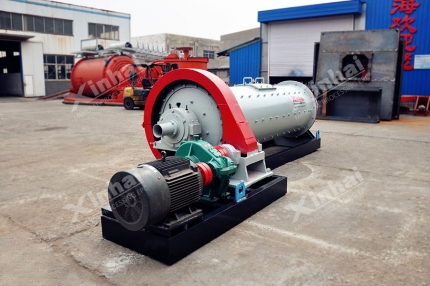
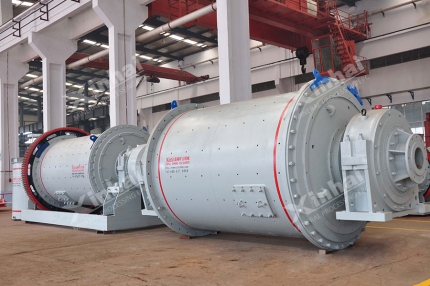
Rod mill is a kind of grinding equipment commonly used in mineral processing plants. It is mainly composed of motor, main reducer, transmission part, cylinder part, main bearing, slow transmission part, feeding part, discharging part, annular seal, large and small gear injection lubrication, basic part and so on. The correct installation of the rod mill can not only ensure the normal operation and working efficiency of the equipment, but also ensure that it has a long service life. Below, you will learn how to properly install a rod mill.
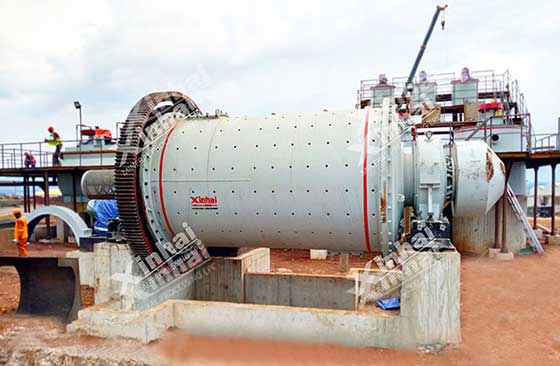
Use the table of contents below to navigate through the guide:
01Determine the vertical and horizontal center line on solid reinforced concrete
The rod mill must be installed on a solid reinforced concrete foundation (concrete grade no less than 150). Draw the vertical and horizontal centerline and reference point (or elevation line) of the rod mill and the vertical and horizontal centerline of the transmission device on the basis according to the drawings and installation specifications. After the center line is determined, a center point with a diameter of no more than 1mm should be punched out in the center. A red paint circle is dotted around the center point for easy protection and use.
02Check the condition of the anchor bolts
Before laying the anchor bolts, the rust and oil on the anchor bolts should be cleaned. But the threaded part is still greased to prevent rust. Check that the bolt and nut fit well. Check whether the position of the anchor bolts conforms to the general drawing and foundation drawing.
03Prepare the main bearing before installation
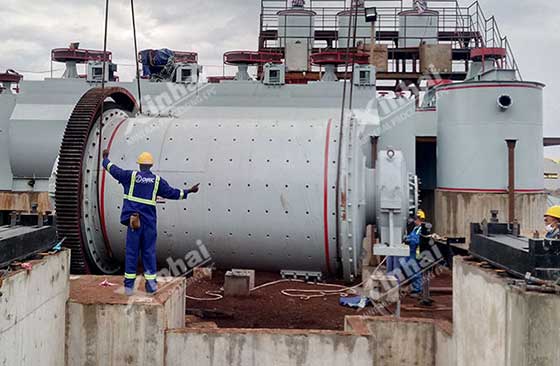
The installation of the main bearing of the rod mill must meet the basic strength of more than 75%, and can only be installed on the foundation after passing the inspection. The bearing base plate should be cleaned before installation. On the upper surface of the bearing base plate, draw a vertical and horizontal centerline. Installation shall be carried out in accordance with relevant documents and specifications, equipment drawings and technical requirements. Then install the anchor bolts together with the bottom plate on the foundation, place the pad iron under the bottom plate, and adjust the bottom plate to the correct position. The spacer can be made of 25×100 steel plate, the length is not greater than the width of the bottom plate, the main bearing bottom plate should be no less than 8, and the rest of the bottom plate can be appropriately reduced. The adjustment pieces can be made of thin steel plates of different thicknesses, subject to no more than 2 pieces on each spacer.
04Measure the distance between the centers of the two bearing bottom plates of the mill
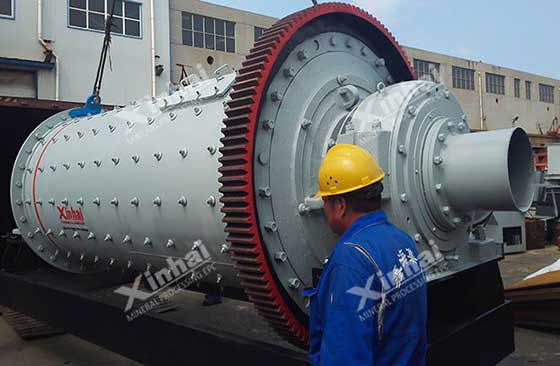
The center distance of the two bearing bottom plates of the rod mill should generally conform to the design drawings or the provisions of each document. However, the actual size of the cylinder body and the end cap after assembly sometimes deviates from the design size. In this case, the construction should be carried out according to the actual size after obtaining the consent of the relevant parties. The relative elevation of the two main bearing bottom plates of the rod mill is generally measured with a liquid communication device or theodolite. The tolerance is 0.5mm, and it should be ensured that the feed end is higher than the discharge end. The elevation and levelness of the bearing base plate should be measured at the same time, and the level should be found while measuring the elevation. Place the bearing seat on the bearing base plate so that the centerlines of the two are coincident. The observation hole at the lower part of the bearing seat should face the outside, and the contact surface between the bearing seat and the bearing base plate should be in even contact along its circumference. The local gap shall not exceed 0.1mm, the length of the non-contact edge shall not exceed 100mm, and the cumulative total length shall not exceed 1/4 of the total length of the surrounding area.
05Install the top cover of the rod mill after the test and inspection are correct
Before installing the top cover of the rod mill, the cooling water pipe of the main bearing should be connected to the water pressure test to ensure that there is no leakage. After the bearing seat is installed, check whether the cooling water hose inside the bearing seat collides with the journal. The space between the bearing pad pressing plate and the bearing pad meets the requirements of the drawing. Finally, the foreign matter inside the bearing base is cleaned up, and the useless holes on the bearing housing shell are blocked with bolts. It is recommended to fill the contact between the main bearing housing and the journal with 2 lithium-based grease: the panning groove of the honey seal at the contact point, and at the same time test whether the grease nipple is unobstructed.
06Check rod mill end caps
The end caps must be inspected and repaired for surface damage before the swivel is installed. Such as rust, scratches, etc., at the same time remove burrs, flashes and anti-rust paint on the joint surface. If the assembly cannot be carried out immediately after cleaning, a layer of anti-rust grease should be applied to the processing surface and packaged. Pre-install the gear lower cover in the transmission section before installing the rotary section on the bearing. For the assembled rotary part, the total length and the length of the center of the two journals must be measured, and compared with the center distance of the bearing seat. If not, the basis needs to be revised.
07Check the rod mill barrel
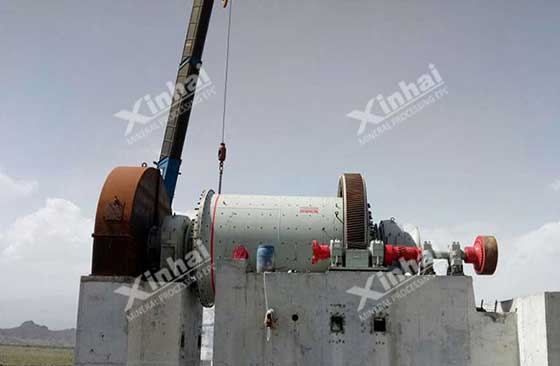
After the cylinder of the rod mill is installed on the main bearing, it should be checked. The busbars on the two journals should be on the same level, the elevation deviation should not exceed 1mm, and the feed end should be higher than the discharge end, and the journal should be measured at the same time. and the gap on both sides of the tile surface in the axial direction. The gap near the end of the barrel is 2.5mm.
08Confirm the condition of the anchor bolts before the second pouring
The anchor bolts should be tightened prior to the secondary pouring of the foundation. Clean the oil, paint and rust on the bearing seat and shims. The foundation is clean of oil and dust and rinsed with water before pouring. The ratio of cement mortar used in the secondary pouring is 1:2 (cement grade is 525). When pouring, special attention should be paid to filling the lower part of the bearing base with cement mortar. When pouring, it should be tamped and there should be no gaps.

In a word, the installation and debugging of the rod mill is an important task. The result will directly affect the grinding quality and efficiency in the later production stages. It is recommended that each mine owner entrust a beneficiation equipment provider with the qualification of dressing plant design and research, and professional rod mill installation and commissioning personnel will carry out the installation and commissioning work to ensure reasonable process parameters and ensure the normal operation of the rod mill.

 marketing@ytxinhai.com
  0086 13810327080







 CHAT
CHAT MESSAGE


